Hi Friends,
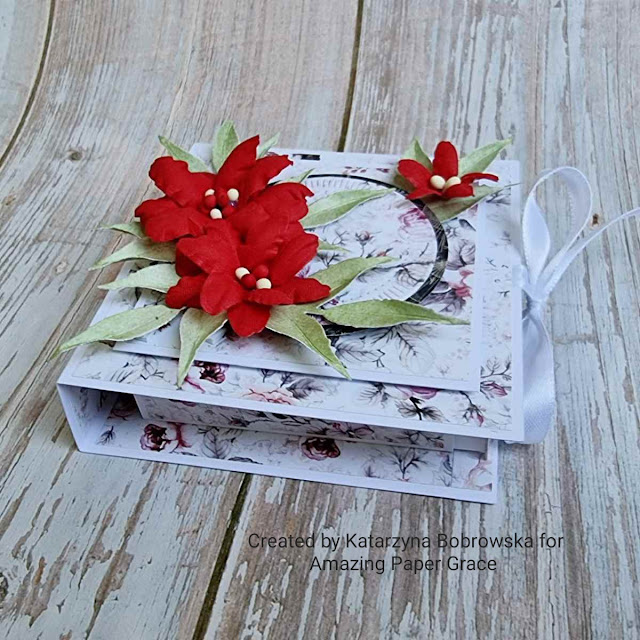
Today I would like to share with you all my card with a drawer inside.
I am sharing a step by step tutorial that is available at Amazing Paper Grace - Creative Encouragement Community.
As a member of the Amazing Paper Grace Creative Team, I receive free dies to use in my projects.
To create I used:
Other supplies:
- White cardstock
- Red Cotton fabric
- PVA glue
-3D Foam Pads
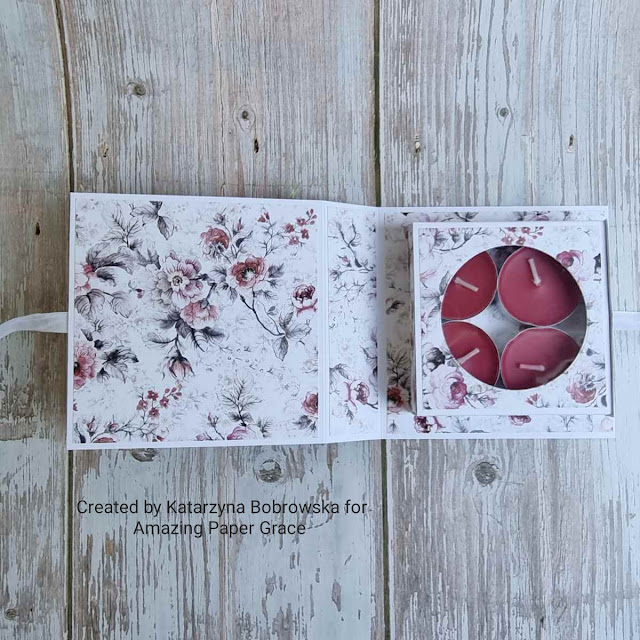
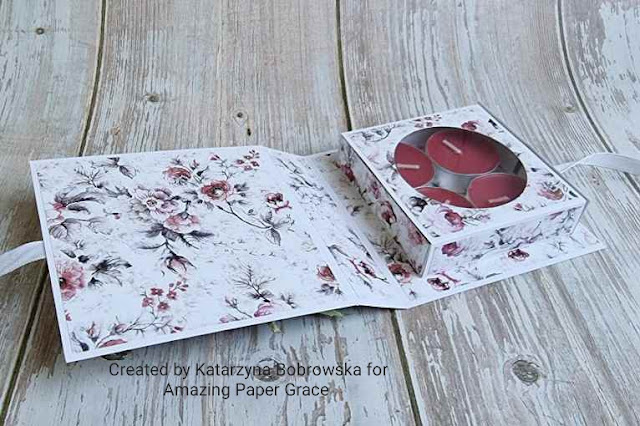
There is room for four tea lights.
Drawer holder:Cut out a rectangle of 3 9/16'' x 9 1/16''. Make folding edge as shown above. Cut out in patterned paper: One square of 3 1/8'' x 3 1/8'' and 2 rectangles of 3 1/8'' x 5/8''.See the picture above. Load the pattern paper as shown in the picture below and press out if you want a gelatin window.
The drawer holder is finished.
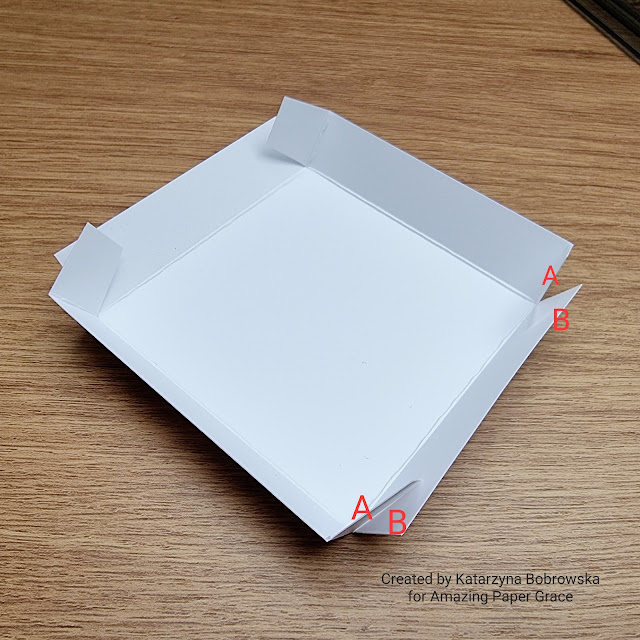
Glue A to B.
Attach this as shown in the picture below. One plate is larger than the drawer, this means that it does not slip out.
Then the drawer should fit inside the drawer holder.
It should look like this.
Glue them onto it like this below.
Glue the drawer box part on the middle of the right square like this.
Cut 1 circle that is coloured that is smaller than the one you cut for the thing inside and take those circles and stick the smaller on the bigger and then stick that onto the top of it with 3d foam pads.
Make Along Units are available throughout the entire month with Amazing Paper Grace Creative Team Members. Each member will be showing you step by step how to create something fabulous with Amazing Paper Grace Dies.


Brak komentarzy:
Prześlij komentarz