Hi Friends,
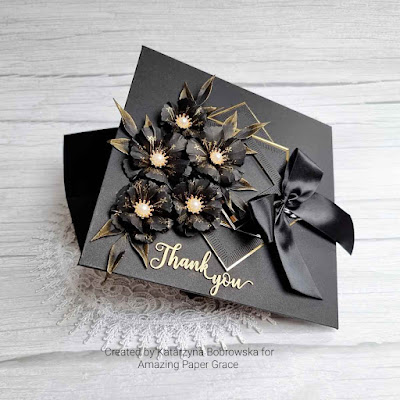
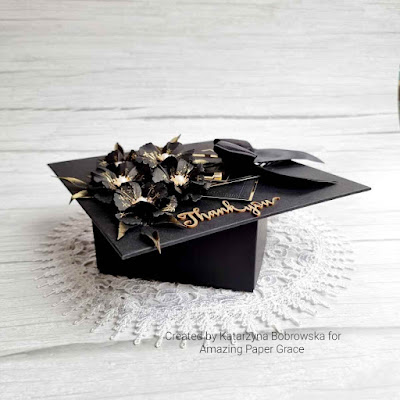
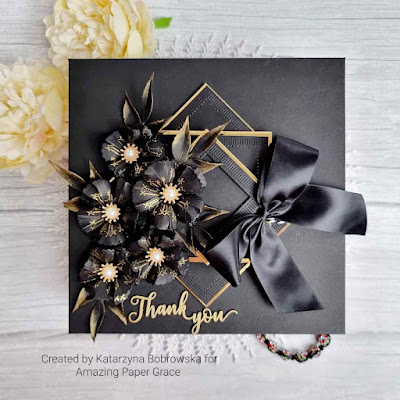
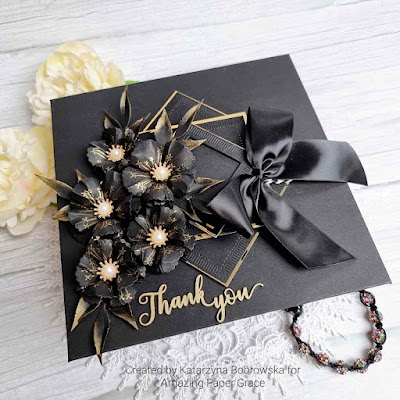
Today I would like to share with you all my amazing Graduation Card Box.
I am sharing a step by step tutorial that is available at Amazing Paper Grace - Creative Encouragement Community.
As a member of the Amazing Paper Grace Creative Team, I receive free dies to use in my projects.
To create I used:
Other supplies:
- Black cardstock
- Gold cardstock
- Golden ink to paint the leaves
- Gold marker for drawing stamens in flowers
If you want to make the Gift box yourself, I have made a tutorial for you.
White cardstock for the box: 10 1/8 '' x 10 1/8''
White Cardstock for the cover: 10'' x 10''
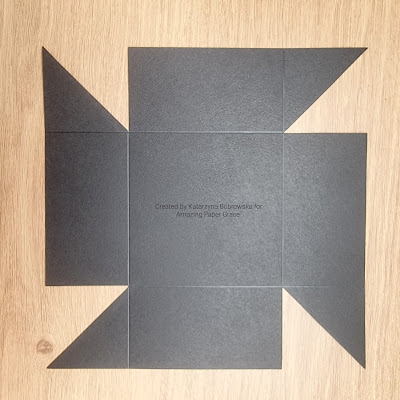
Score on the dotted lines and cut the solid lines:
White cardstock for the box: 10 1/8 '' x 10 1/8''
White Cardstock for the cover: 10'' x 10''
Score on the dotted lines and cut the solid lines:
Box
Cut and emboss cardboard for the lid according to the template. Cut off a triangle in each corner as shown below.
It should look like this:
COVER
Cut and emboss cardboard for the lid according to the template. Cut off a triangle in each corner as shown below.
Glue the lid together as follows:
Attach the glue to the top of the box as shown in the photo.
Cut a 4.5 "x 4.5" gold square and a black square from S4-1151
Glue the black square onto the gold
Glue it to the top of the box as shown in the photo.
Cut a golden square and a black one from the medium die S4-1151.
Cut out the even smaller gold square S4-1151 die and the smaller black frame.
Glue together on the 3D foam as below in the photos.
Stick them in layers on the 3D foam as shown in the photo.
Make Along Units are available throughout the entire month with Amazing Paper Grace Creative Team Members. Each member will be showing you step by step how to create something fabulous with Amazing Paper Grace Dies.








Brak komentarzy:
Prześlij komentarz