Pokazywanie postów oznaczonych etykietą Scrap 8. Pokaż wszystkie posty

sobota, 25 lutego 2023

Pierwsza Komunia Święta - Album

Cześć Kochani!

 Dziś chciałbym Wam pokazać album z okazji Pierwszej Komunii Świętej. Do wykonania albumu użyłam gotowego albumu Bazyl o wymiarach 20cm x 20cm z 6 kartami w środku. Do obklejenia albumu wykorzystałam kolekcję papierów od SCRAP 8 - Rosy Lane. W środku albumu na okładce jest umieszczona kartka komunijna recznie robiona. Album pomieści 46 zdjec 10cm x 15cm i 9 zdjęć 13cm x 18cm.


wtorek, 31 stycznia 2023

Album - Pierwsza Komunia Święta

🇵🇱 Cześć Kochani! 
Dziś przychodzę do Was z albumem Komunijnym -  harmonijkowym o wymiarach 13cm x 18cm,  który wykonałam ręcznie od podstaw. Album pomiesci 16 zdjęć o wymiarach 10cm x 15cm. Do zrobienia albumu użyłam paiery SCRAP 8 - Spójrz w gwiazdy ( Look at the stars  ). Zainspirowałam się praca Malgosi Janochy 📽  Live 

🇬🇧 Hi loves!
 Today I come to you with a Communion album - accordion size 13cm x 18cm, which I made by hand from scratch. The album can hold 16 photos measuring 10cm x 15cm. To make the album I used SCRAP 8 paper - Look at the stars. I was inspired by the work of Malgosia Janocha  📽  Live


Dziękuję wam za odwiedziny 
Katarzyna 


poniedziałek, 10 października 2022

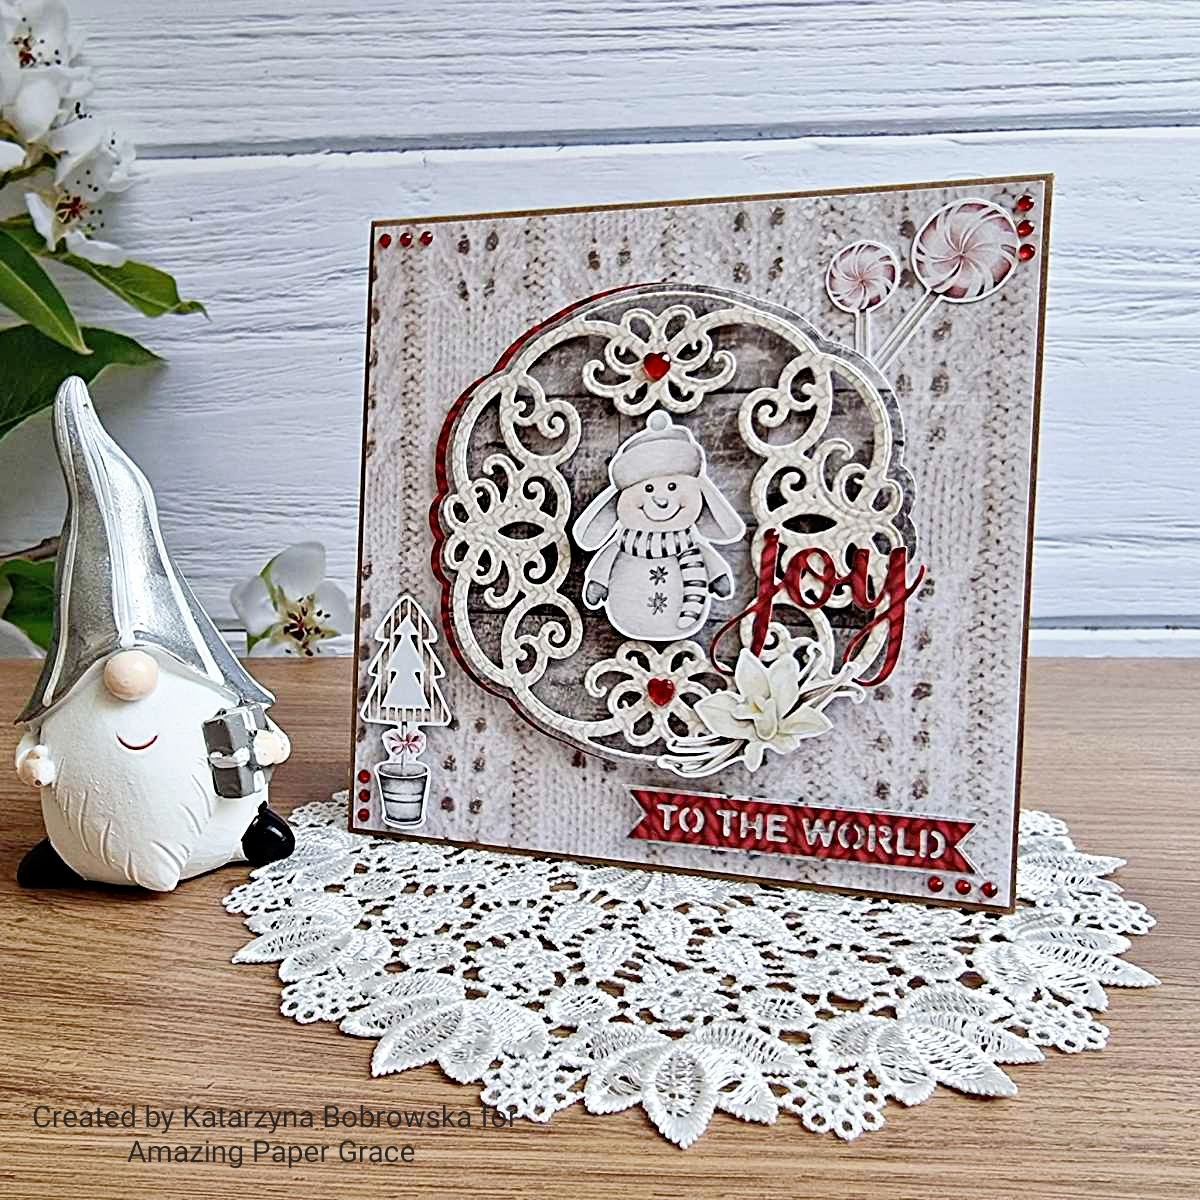
Christmas Card - Joy to the world

 Hi Friends,

Today I'm back with my Christmas Card - Joy to the world.
Thank you Amazing Paper for these dies.
To make this card I used Amazing Paper Grace Dies: S5-532 Joy Flourish Doily Etched Dies from the Christmas Flourish
Other Supplies:
- Scrap 8 - Waiting for Santa 
- Brown cardstock 


wtorek, 21 czerwca 2022

Picnic Box step-by-step

 Hi Friends,
Today I would like to share with you all my Picnic Box.
I am sharing a step by step tutorial that is available at Amazing Paper Grace - Creative Encouragement Community.
As a member of the Amazing Paper Grace Creative Team, I receive free dies to use in my projects.

To create I used: 
Other supplies:
- Scrap 8 - Romantica
- Lemoncraft - Leaves 05 - Say green 
- White cardstock 
- Pearl's 
- White foam 
- Stamens 


If you want to make the Picnic box yourself, I have made a tutorial for you.
Cut out a rectangle of  6 1/4" x 9 11/16" in cardboard. 
1 3/6" away from on each side score to the bottom like on the picture.


Cut out triangles 1 3/6" from the edges. Fold the cardstock as shown under the picture and glue together. 


Cut a cardstock ( A ) at 13/16" x 9 11/16" and score 1 3/16"


Cut a cardstock 8 7/8" x 4 5/16".
Score on short side 1 3/16", 3 15/16", 4 15/16", 7 11/16".


Fold the cardstock as shown on the picture and glue together.


Cut cardstock 4 1/8" x 6 1/2".


To keep lid shut I attach magnet  as shown on the pictures. Outside end instead the box. 


Cut middle: 1 - 3 3/4" x 6 1/8", 2 - 1" x 3 3/4", 2 - 1" x 6 1/8"
And glue it inside


Cut outside colour: 2 - 1" x 3 3/4", 
2 - 1" x 6 1/8", 1 - 4 " x 6 3/8".
Glue the strips in the outside of the box


 Stick it on the white cardstock.


Glue the big sheet on the bottom of the box.


Cut lid: 2 - 2 5/8" x 4 1/8", 2 - 1" x 4 1/8",
1 - 3/4" x 4 1/8"


Glue it like on picture below


Cut : 
- 2 white rectangles from die S5-475
 - 2 frames from die S5-475 with colourstock


Stick with 3d foam cubes


Glue on


Handle:
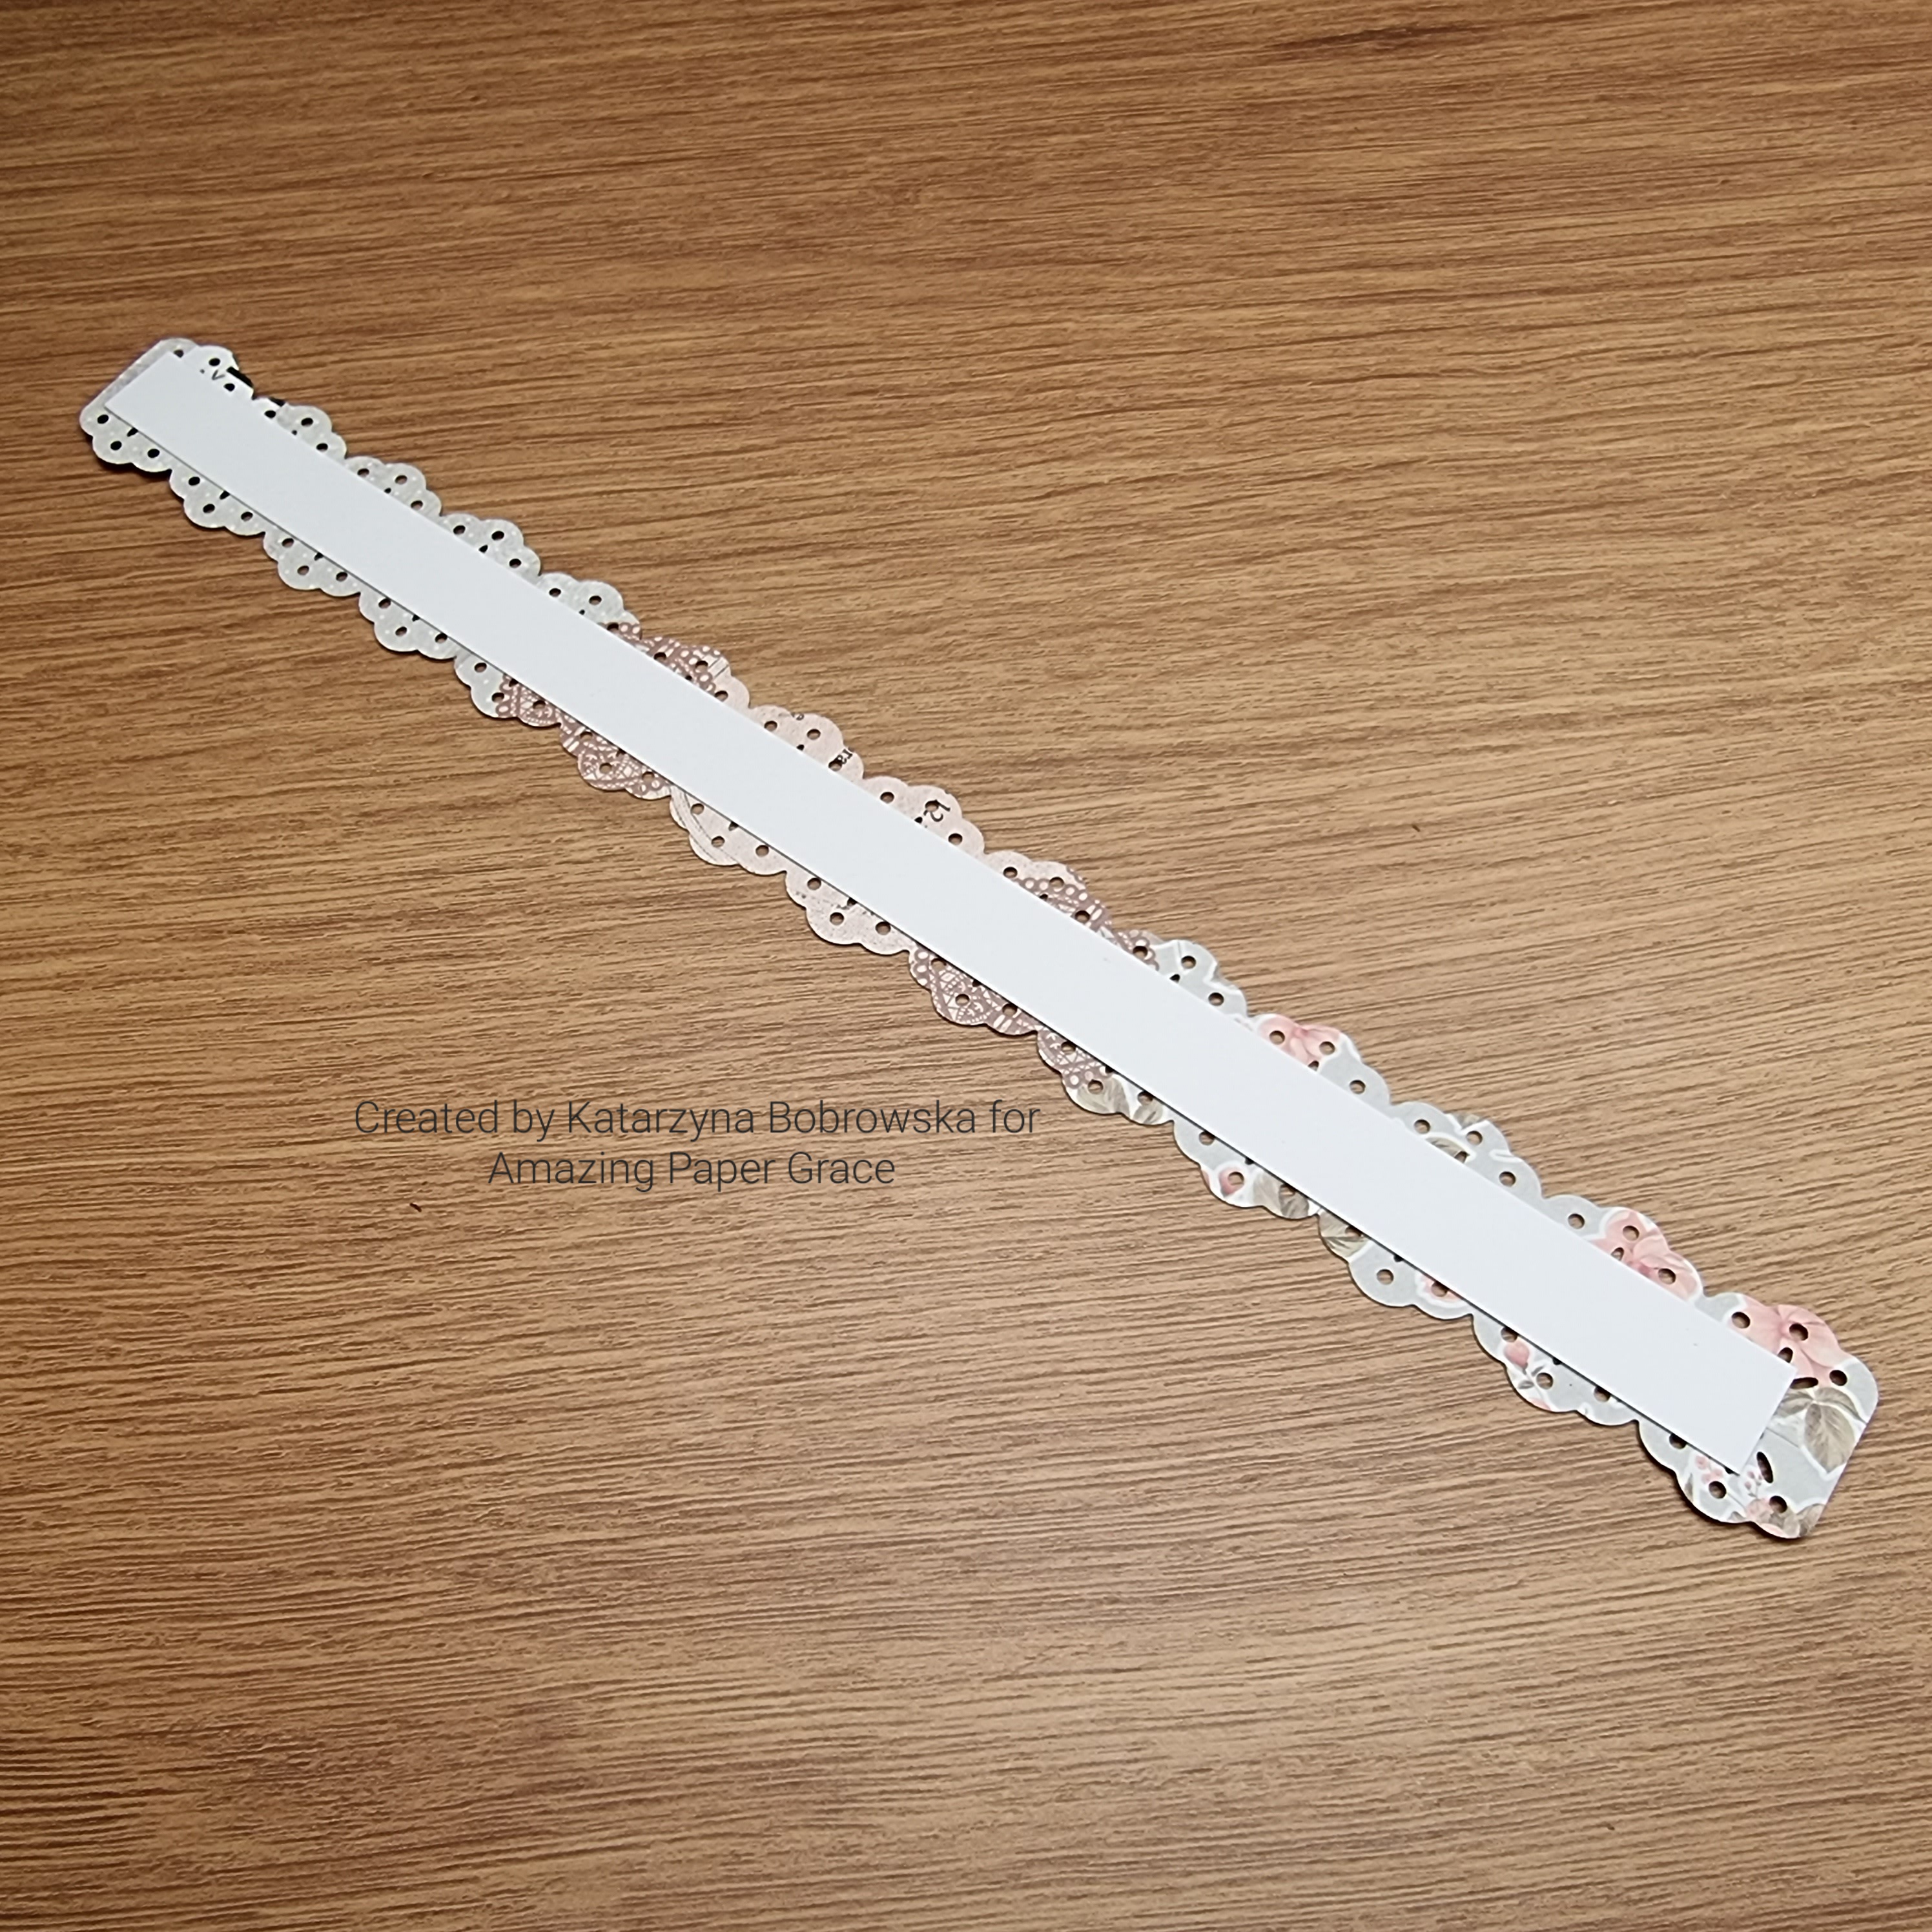
cut out: 11 7/16" x 5/16" White colour and 1 decorated for dies S4-1165 . Glue A on B.


The handle is fastened with a brad after making holes into both the box and the handle.


Attach it like the picture below


Decorate with hand made flowers.


Make Along Units are available throughout the entire month with Amazing Paper Grace Creative Team Members. Each member will be showing you step by step how to create something fabulous with Amazing Paper Grace Dies.


Thank you Katarzyna